|
Lesson Supplies (download
here)
1. Open a new image 500 x
500 transparent.
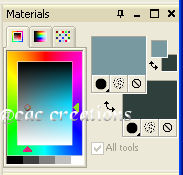
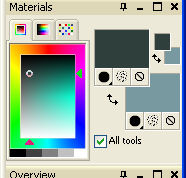
2. Open up your psp image and click on materials pallet.
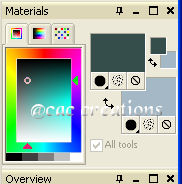
Note your materials pallet is on the right hand side. The top box is called the foreground the bottom box is called the background. If you don't see your
materials pallet then right click anywhere on your psp and click on pallets and then click on Materials.
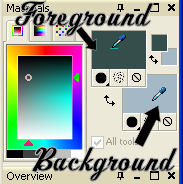
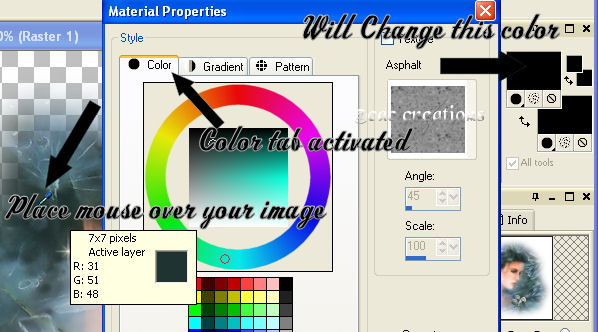
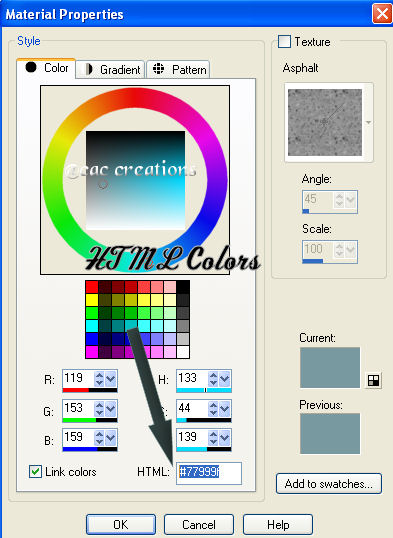
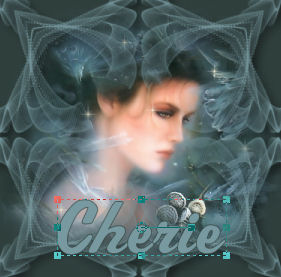
3. With you PSP image open click on the foreground box take your mouse and you will see an eye dropper choose a Light Color from your tube. Like so:
4. When your happy with your foreground color, click on background the materials pallet box will open again, using the same process at number 3 pick a dark color from your tube. My pallet now looks like this:
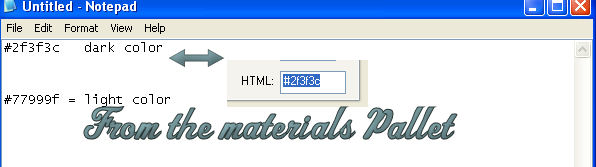
Note: If you want to use my colors I used for the foreground: 77999f and for the background I used: 2f3f3c. To find and use those colors you click on materials pallet foreground first and paste those numbers were you see the HTML number. It looks like this: Your number should go after the # sign.
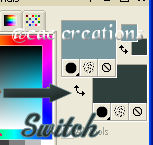
5. On your materials pallet click on the double arrow and flip the foreground to the background and the background to the foreground. It looks like this:
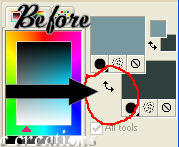 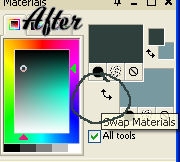
Notice that the dark color now became the foreground and the light color became the background.
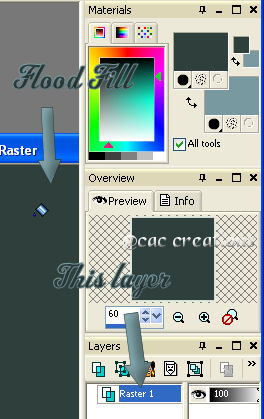
6. Now on your blank image you first created click on the flood fill  and flood fill raster 1 with the dark color. and flood fill raster 1 with the dark color.
7. On Materials click on the arrows again to switch the foreground and
background colors
. 
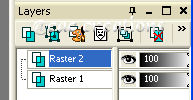
8. On the layers pallet click on new raster layer like so:

9. You will now have 2 raster layers. Raster layers 1 and Raster layers 2.
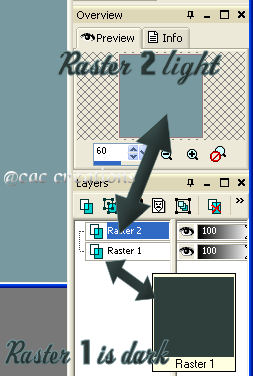
10. Flood fill your Raster 2 with the lighter color.
11. Now open up the
DoubleSpace mask
. 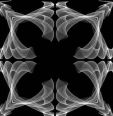
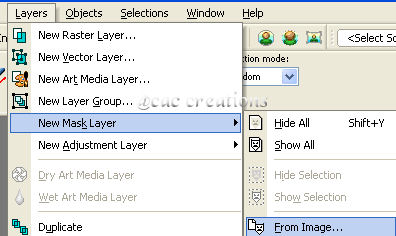
12. You should now have three images, your two tone color image and your mask image, and your tube image. Go to Layers/New Mask Layer/From image.
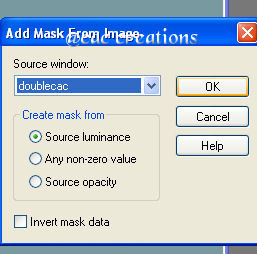
13. A box will come up that looks like below,
housing the blue down arrow click on the doublecac and follow the settings that I have.
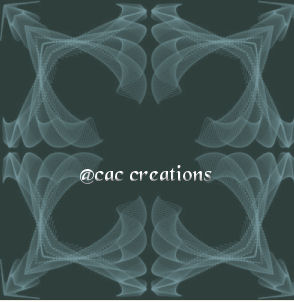
You should have something that looks like this:
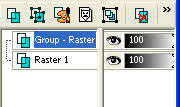
14. Look at your layers on the right hand side. Notice that it now says "Group Raster". That means there is more than one thing on that one layer and its grouped together. Lets look at those layers together. Note: if you place your mouse over
easy layer you will see it come up in a small window.
What the "Group Raster Looks like".
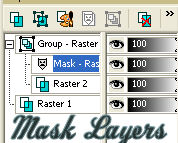
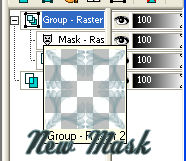
The first layer in the group Raster is the new look that you gave.
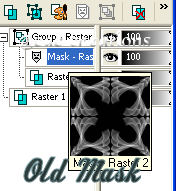
The center layer in the "Group Raster Layer" is the old Mask that you just used.
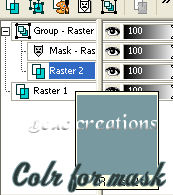
And the last layer in the "Group Raster layer" is the light color that you had applied. The color is what gives you the
stenciled look.
15. IMPORTANT STEP: I'm going to teach you the easiest way that I know to handle the "Group Raster Layers" when merging. Go to  at the top of your PSP. Then click on at the top of your PSP. Then click on  and then click on and then click on  . Once you have done that you will once again have 2 layers in your Layers pallet that look like this: . Once you have done that you will once again have 2 layers in your Layers pallet that look like this:
Notice that the + sign is now going on the "Group Raster Layer". This means that is a single image with no other layers in it.
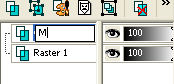
16. I'm all about renaming layers so make sure your "Group Raster layer is
active". Activated meaning that the layer is highlighted blue. Right click on the name Group-Raster and click on rename then type in mask.
17. Once done renaming the "Group Raster Layer" Click on Raster 1 activating it (making the word blue) and follow #16 again and this time rename it bk. My layers look like this now:

18. Now click on the word Mask in the layers pallet to activate it.  . .
19. Open up your tube image by maximizing it and go to Edit/Copy at the top of your PSP. Minimize it to the bottom of your psp after you copy it.
20. Activate the project your working on (it has the mask on it) go to Edit/paste/paste as a new layer. Like so:

21. This will give you a new layer and it will now be called raster 1. Follow step number 16 and rename it tube.
22. On the layers pallet we want to move the tube layer below the mask layer. I'm going to show you an easy way to achieve this.
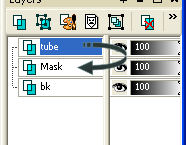
23. Make sure your "Tube Layer" is
active. So the word is blue like above. Go to , then click on Arrange ( ), then click on Move Down ( ), then click on Move Down ( ). Your layer pallet will look like this: ). Your layer pallet will look like this:
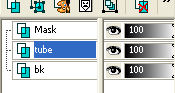
Notice that the tube now has the
appearance that it underneath the Mask.
24. Okay so we kind of have everything in place so let's play with the "Mask" Layer. Click on the word  so its highlighted blue and activated. so its highlighted blue and activated.
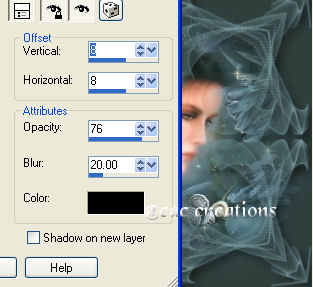
25. Go to effect/3D effects/Drop Shadow and repeat the settings I have below. This will give it the effect that it is popping out.
27. Well it looks great so lets go and merge it all. With the mask still
active right click on the word and click on merge than click on merge visible.

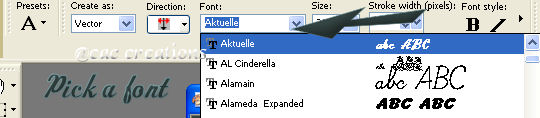
28. Now lets add some text click on your  go to the top of your psp and scroll down on your font. Pick a pretty font that you want to use. Play around with the size you want as well. go to the top of your psp and scroll down on your font. Pick a pretty font that you want to use. Play around with the size you want as well.
29. Now on your foreground and background pallet make sure that the foreground is your dark color and your background is the light color. Mine looks like this:
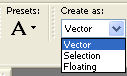
30. Click on your project and type in your name or whatever you want it to read. Make sure that vector is check on your font.
31. Position your font so your happy with it on your project mine looks like this:
32. When your happy with were you have the text go to effects/35 effect/drop shadow and use my settings below:

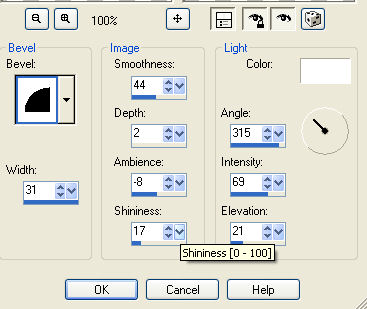
33. Now go to effects/3d effect/inner bevel. Follow my settings:
34. Now go to selections/selections all.
35. Go to selections/modify/contract and use my settings below:
36. Now go back to
selections/invert. You should have marching ants that look like this: It will look like a double row of marching ants.
37. Lets make a frame for our new image. Were going to use the dark and light shadow that is in our
materials pallet. In order to use them as part of the frame the first thing you will need it the html numbers so you can copy paste them each time you add a border. This is how I do it. I open up a note pad and copy the html code from the materials pallet foreground and background u will need both.
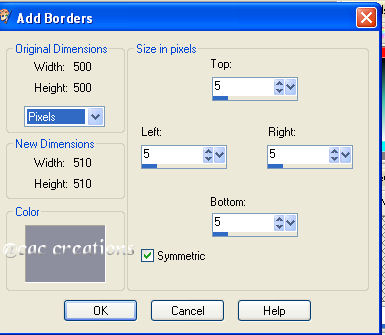
38. Okay now that you have both the foreground and background HTML numbers go to Image/Add border a box will come up that looks like this:
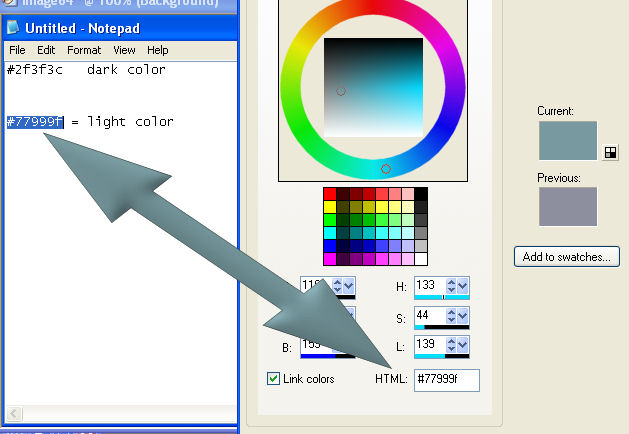
39. Click on the color box a color box will come up. Copy and paste your light color in the HTML box. Like so:
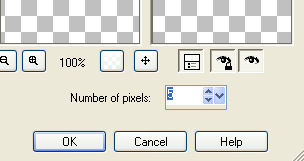
40. Click Okay when you have the color. Now the add border box will come up with the color change. Make the top/bottom/left/right the same settings as I have. Make sure
Symmetric is checked and it shows pixels. Click okay when you have it.
41. Repeat steps 38 through 40 but this time make it 2 for all of them and use the dark color.
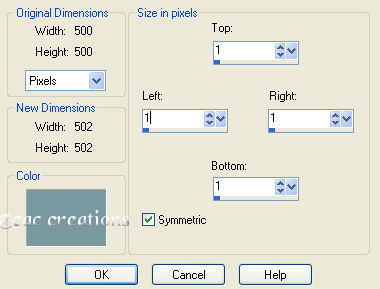
42. Repeat steps 38 through 40 but this time make it 1 for all of them and the light color
43. Do Not Deselect and go to effect/3d Effects/Inner bevel using the same settings as step number 33.
44. Select/select none.
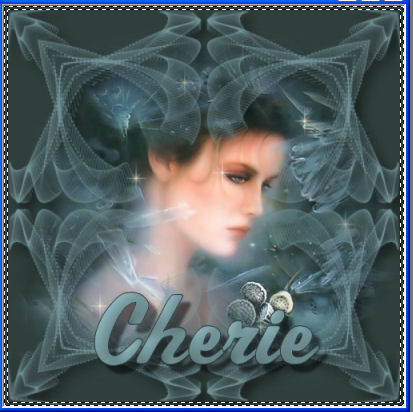
45. File/export/Jpeg Optimizer. Leave the all the settings the same fine a
folder to put it in and name it.
Assignment for this class is to send in a completed tag using the tubes I have supplied. Then do the lesson again this time using tubes that you have this is a great tut for working and playing with layers and pallets. If you need a tube go visit the honey shop.
I hope you enjoyed it.
|