|

Stained Glass
Please read through this before starting. I did not add images as you should know where your flood-fill tool is and magic wand and how to select colors or gradients from the material palette. If not please refer back to the baby bee lessons.
Drag the Arrow to mark your progress

DOWNLOAD THE SUPPLIES:

1. Open the stained glass picture you want to use in psp.
2. At the top go to Layers/promote background layer
3. Use your magic wand and select an area you want to color. If there is more than one area you want to use the same color hold down your shift key while selecting.
4. Now select your flood-fill tool and flood fill the area you selected with a color or gradient of your choice from the material palette.
5. I want to see where you used 2 different texture effects in your stained glass picture. To do this the area you selected after you flood fill keep it selected then go to effects/Texture Effects and choose which you would like to use and play with the settings until you get something you like.
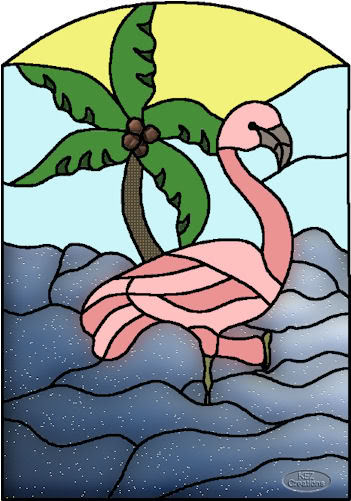
On mine I used weave on the palm tree and Tiles on the coconuts and the water I used fine leather.
6. When done go to Image/resize and resize until the biggest side is no larger than 500.
7. Place your watermark on your picture.
*Hint*: If you use the dice in the effects it will give you random settings and you can change them up if it gets close to something you like. Have preview on image checked you can see what it looks like. If you mess up there is always the undo button at the top.
Have fun. Take your time. Cant wait to see your results.
ASSIGNMENT:
Send to instructor and group
Please do not copy, tear apart, email or share these lessons without my permission: Thank You for your understanding and respect for the hard work that goes into these lessons.

Graphics/Content © 2006 Queen Krissy New-Bee's. All Rights Reserved.
|