|
Tubes I put in a couple so you can
choose and be a little different. And for the guys
out there I added some guy things too. (download
here)
1. Open a new image 500 x
500 transparent.
2. Open up a wood gradient and minimize
it in your psp. I used this one.
 (right click and save to your folder) (right click and save to your folder)
3. In your Materials pallet click on Gradient
and choose the wood grain. Your foreground
should be null.

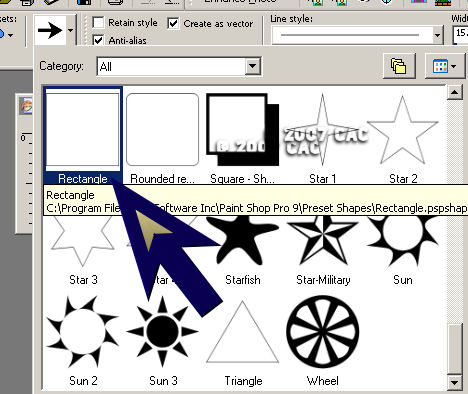
4.Go to your preset shapes and choose the
Rectangle..
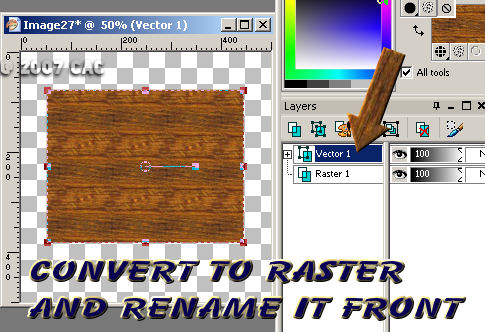
5. With your rectangle activated make a
large box. Size is up to you. Right
click on the vector and convert it to a raster,
then rename it Front..
6. Go to selections and select all, then
go back to selections and select float.
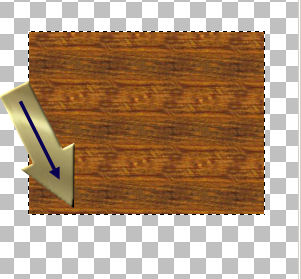
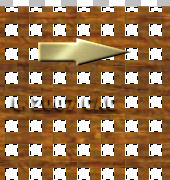
7. With your box selected to to
effects/texture effects/weave.
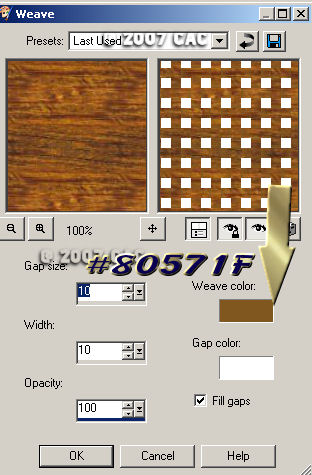
8. Select None.
9. Take your magic wand and click inside
of one of the white squares in your weave go to
edit and click on cut..
10. Select None.
11. Go back to your preset shapes and
choose the rectangle again. Foreground
should be wood this time and background should be
null. Make your settings the same as mine
below.

12. Make a box around your weaved pattern
like so: Right click on it convert it to a raster
and rename it box.

13. Move the box to fit the pattern with
your raster deform too
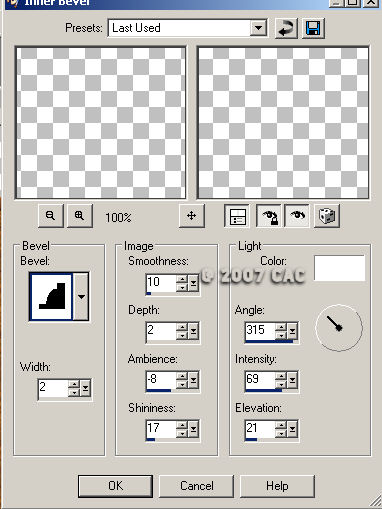
14. Once your happy with it and it looks
like it is all attached go to effects/3d
effects/inner bevel with these settings.
Okay your done you now have the background to make
some awesome tags. Take what you have created and
start adding some tubes and some words to it.
You can glitter your words or your tubes if you
want. Make it your creation.
These are some other tags I made with that effect.
 
But Wait!!! Don't let your creativity stop
there. Look what else you can make using the
same effect.
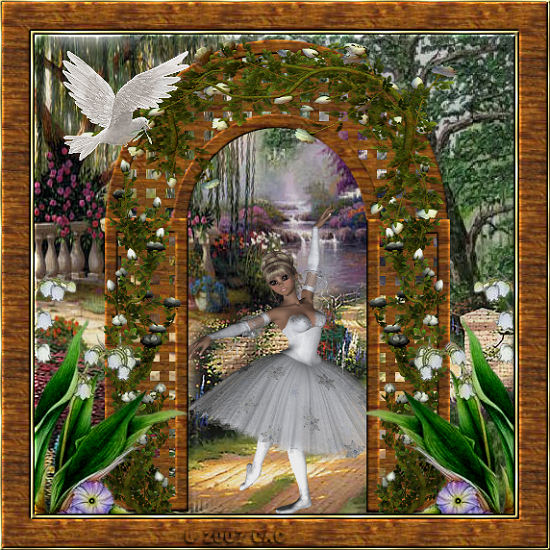
I made the arches using the same technique as
above.
Play around with your preset tool
options pick some other ones and try the same
effect, you can even use different gradients for
other results. Remember the sky is the limit
and PSP is your sky.
|