|

Written and Copyright © Cherie
This is my own creation, any similarities to other
tutorials is purely coincidental and unintentional.
Working with Distortion Effects, Clone tools and Text on a path.
DOWNLOAD THE SUPPLIES HERE 
For this lesson we will be working with the Distortion effects and clone tools. Were also going to add a Text on a path for our final tag. For those of you that run tourneys this and many other lessons are a great way to make those top images that go on your tournament pages. Just size it different for different size effects.
1, Open a new image and set it to 500 x 500 transparent.
2. Pull the tube that was supplied in the lesson up in your PSP or use one of your own.
3. With your tube open go to edit copy. Minimize it because we will need it later.
4. Now go to your new blank canvas and edit and paste as a new layer. The tube will now be on your blank canvas.
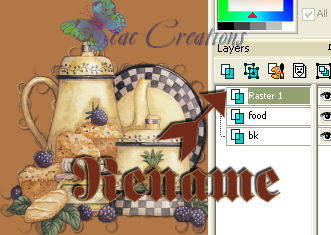
5. Right click on your raster 2 and click on rename. Rename it whatever will help you find that tube again. I called mine food. Note that I renamed raster 1 bk.
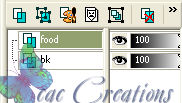
6. Pick a color from your tube and go to your bg layer and flood fill it with that color. I chose a dark color for my background.
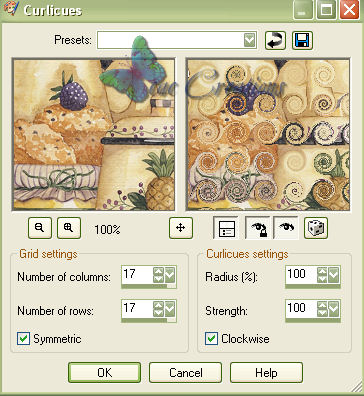
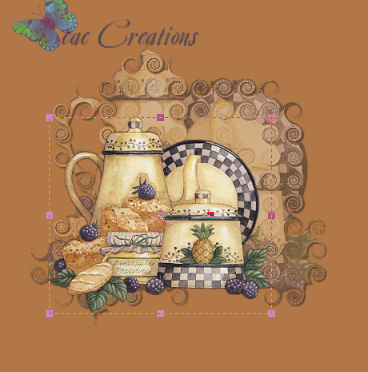
7. Activate your food layer and go to effects/distortion effects/Curlicues and use my settings.
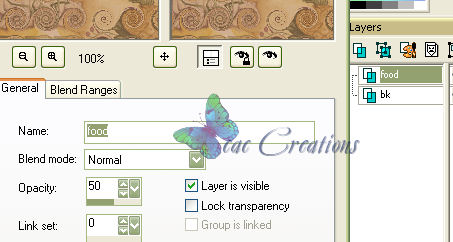
8. With your food layer still active double click on the word food (or whatever you named that layer) so that the properties box opens up. Then reduce the opacity to 50% and click okay.
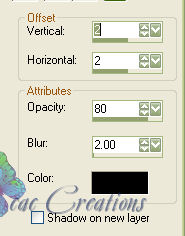
9. With your layer still active go to effects/3d effects/drop shadow and use my settings.
10. Go back to your tube and open it. Go to edit/copy and click on copy.
11. Go to your working canvas and make sure you are on the food layer (or whatever you called it) Go to edit/paste and paste as a new layer. Don't forget to go to your new raster 1 layer and rename it. You should now see something like this: I renamed mine tube.
11. Now with your tube layer active click on your "Raster Deform Tool"  and using the center upper and center middle nodes move your tube so that it is smaller than the layer that is underneath it. Like so: and using the center upper and center middle nodes move your tube so that it is smaller than the layer that is underneath it. Like so:
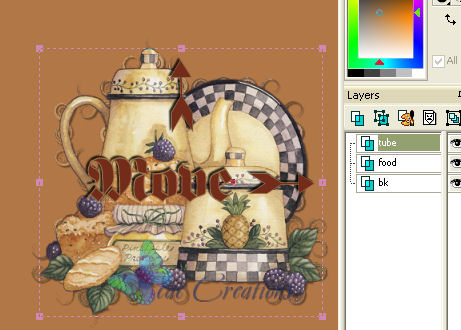
12. After I resized it I went to adjust/sharpen. My new image looks like this:
13. Go to step 9 and repeat the drop shadow.
14. Now lets add a text on a curve. Click on your preset tools shape and click on eclipse.

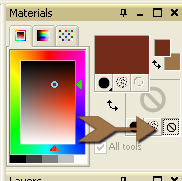
15. On your materials pallet close the background.
16. Now on your main image draw a eclipse around your images. Like so:
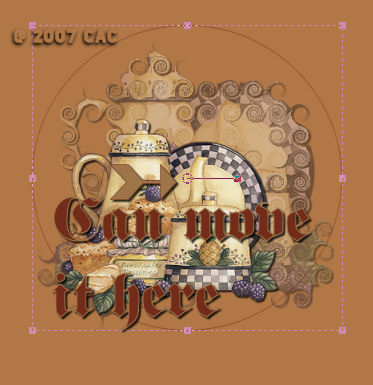
17. Now click on your A tool and pick a font that is fat. Before you type our text make sure you reopen up your background from the materials pallet. Place your mouse in the center portion of your
eclipse you will notice a with a rocker symbol by the A. This represents that you image will curve. Play around with it until you have your desired effect. I used:
Fęte Fracture as my font.
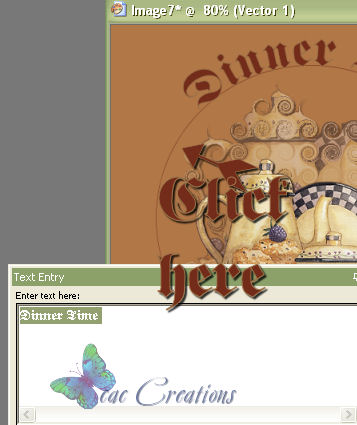
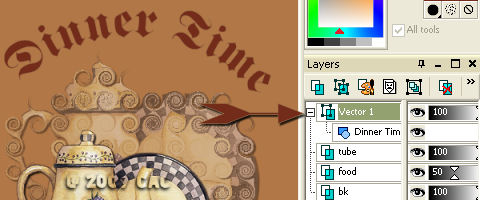
18. On your layers pallet you will notice it says "Vector 1" click on the + sign to open up that particular layer. Like so:
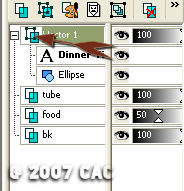
19. With your Vector 1 open take you mouse and under the word vector 1 says A and the word you typed. Click on that (Mine says Dinner) then right click and then click on "Convert to a path" 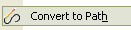
20. Now click on the Ellipse word and right click on it and click on cut.  Your ellipse will now be gone on your image and your text will still be curved. Your vector 1 layers now look like this: Your ellipse will now be gone on your image and your text will still be curved. Your vector 1 layers now look like this:
21. Now with Vector 1 still activated right click on it and "Convert it to a Raster" 
22. Right click on the Vector 1 and rename it name or text.
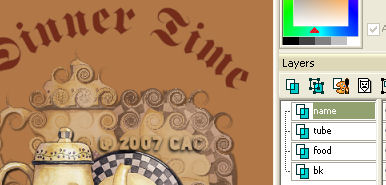
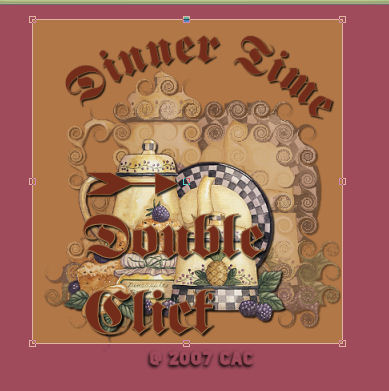
23. Go to step 9 and repeat the drop shadow. My tag looks like this now:

24. Now click on your crop tool  center click and drag the box around your image. When your happy with the size of the box double click in the center of the box and it will cut your tag down and get rid of any access sides. Like so: center click and drag the box around your image. When your happy with the size of the box double click in the center of the box and it will cut your tag down and get rid of any access sides. Like so:
25. Let's add a pretty frame to our new tag. Right click on any of the layers and "merge flatten". Go to your Materials pallet and pick out a light color from your tube for the foreground and a dark color for your background. From your computer open up a notepad. Once you have
chosen your colors click on foreground first. And copy the html numbers  and paste them onto your note pad. and paste them onto your note pad.  Then do the same thing from you dark background. My note pad looks like this: Then do the same thing from you dark background. My note pad looks like this: 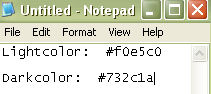 We do this so that when your adding borders it easier to have the information at hand instead of going back and forth to get the correct colors. We do this so that when your adding borders it easier to have the information at hand instead of going back and forth to get the correct colors.
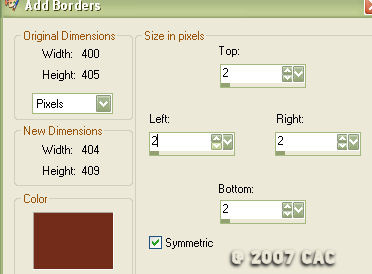
26. Now go to image/add borders and with your dark color add a 2 pixel border. This is the only example I will give on the borders the following portion of the lessons will only tell you what pixel we will be adding. but its the same process through all the borders.
27. A. image/add border - light color 1 pixel.
B. Image/add border - dark color 2 pixel.
28. Go to selections and select all. Then go back to selections and modify/contract by 6.
29. Go to effects/3d effects/cutout and use my settings:
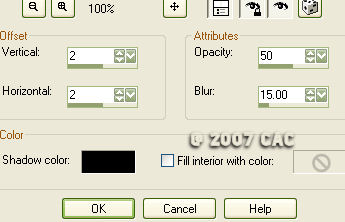
30. Go to effects/3d effects/cutout and this time on the vertical and Horizontal make it -2 all the other settings are the same.
31. Go to selections/invert you will not have a double set of marching ants.
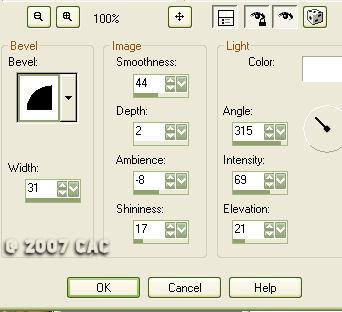
32. Go to effects/3d effects/Inner Bevel and use my settings:
33. Select none.
34. Image add border and using your light color make a 30 pixel border.
35. Take your magic wand and click inside of the new 30 pixel border. If your having troubles with the magic wand check your settings
remember your tools will use the last settings that you used on them. These are the standard wand settings:


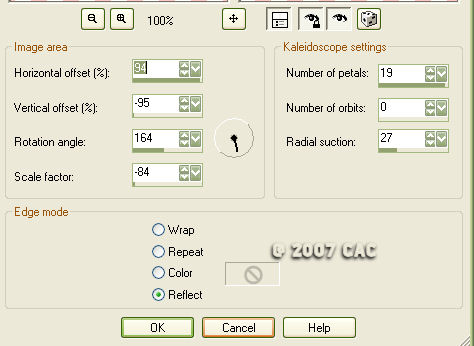
36. Go to effects/ reflection effects/kaleidoscope and use my settings.
37. With your marching ants still there repeat step 32 and give your new
kaleidoscope border an inner bevel. Select None.
38. Repeat steps 26 through 32.
39. Add a watermark to it or your name and send it in for credit.
I truly hope you enjoyed this lesson and you walk away understanding that layers is your most important function for PSP and the importance to
renaming all your layers.
SEND YOUR LESSON TO YOUR INSTRUCTOR AND THE GROUP
Please do not copy, tear apart, email or share these lessons without my permission: Thank You for your understanding and respect for the hard work that goes into these lessons.

Graphics/Content © 2007 Cherie. All Rights Reserved.
|