|
Written and Copyright @Nan's Creations
This is my own creation, any similarities to other
tutorials is purely coincidental and unintentional.
Permission to use the tutorial given to
Queen Krissy's New Bees
DOWNLOAD SUPPLIES HERE: 
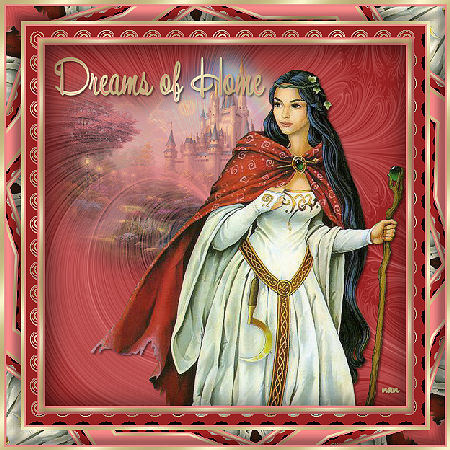
1. Start a new
image 500 x 500 Open your supplies and minimize them in your
workspace.
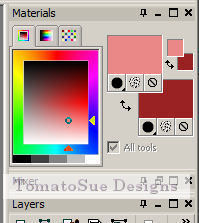
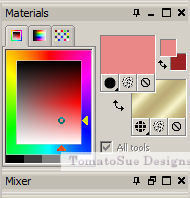
2. Pick a light color for your foreground and a
dark color for your
background. I used #ea8888 for my
foreground, and #9a2222 for my
background.
3. Flood fill your image with your background color.
4. Go to Layers/new raster layer/ and click ok. Flood fill this with
your foreground color.
5. Go to Layers/new mask layer/from
image and chose sq._fractual2 from the
drop-down list.
6. In your layers palette, right click on your mask layer and go to
merge/merge group.
7.Lets rename those layers, name raster1
background, and merged group as mask.
8.Activate your
BG layer, and then right click on the castle tube and copy.
9.Rt click on your Image and paste as a new layer. This will put
your castle
"behind" your mask layer. Make sure you
rename your layer. I named mine "castle".
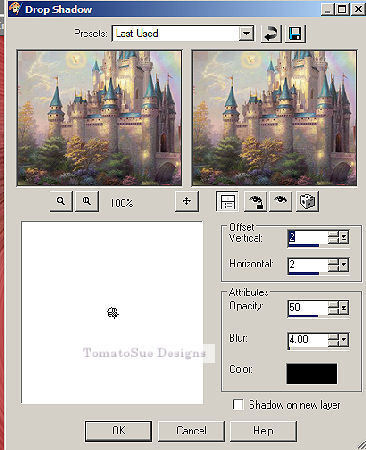
10. I added a drop
shadow at this point to my castle layer. With these settings:
11.Right click on your girl tube and copy.
12.Make sure your mask layer is activated, and then right click on
image and paste as
a new layer. Use your move tool to
move her to the lower right hand corner of your
image. Repeat the drop shadow from step 10.
At this point, right click on any layer and go to merge/ merge
visible. Add your
watermark and text to
your image at this point. Add the same drop shadow to your
text as in step 10.
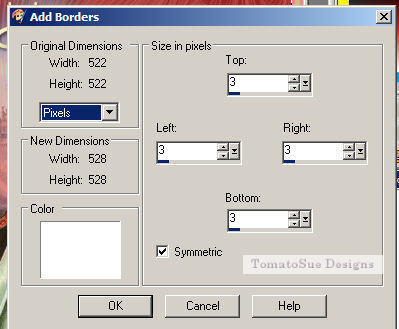
13.Lets add a frame to our picture. go to
Image/add borders/ with these settings, make
your color
white.
14. With
your magic wand, click on the border you just made and flood fill it
with your
foreground color.
Selections/selections none.
15. Image/add borders but this
time make your settings for 5 and your color white.
16. With your magic wand, select the new border and
flood fill it with your gold pattern.
selections. selection none.
17. repeat steps 13 and 14, but this time,
go to selections/ invert.
18. Go to selections/modify/ contract by 8.
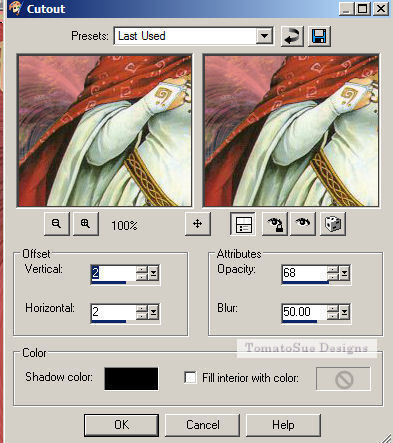
19. Go to effects/ 3 d effects/ cut out and use these settings
20. Selections/ invert then go to effects/3 d effects/ inner
bevel with these settings
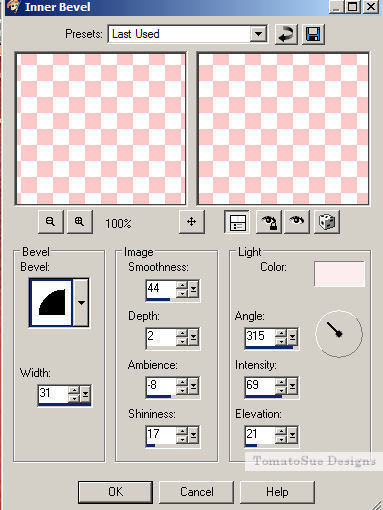
selections/selection none
21. Image/ add
borders 15 all around.
22. Select the new border with your magic wand and flood fill
with your background color.
23.With this border still selected, go to effects/
distortion effects/ curlicues with
these settings
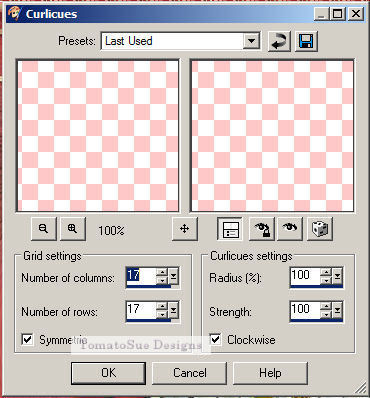
selections/selections none
24.Repeat
from steps 14 and 15.
25.Image/add borders 20 all around this time.
26. Select this new border with your magic wand. Flood fill with
your foreground color.
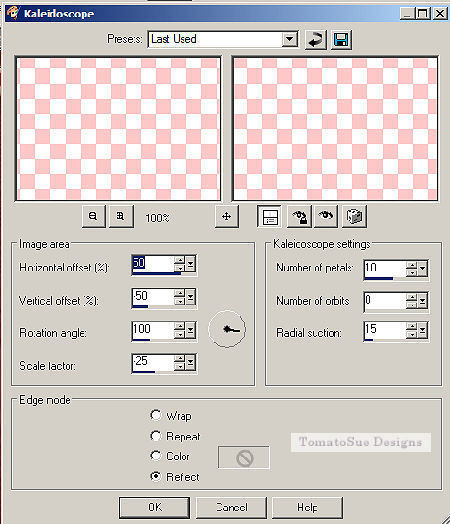
27. With this border still selected, go to Effects/reflection
effects/kaleidoscope
with these settings
28. Add an inner bevel to
this border like in step 20. Select/ select none.
29. repeat step 14 & 15.
30. Go to Image/ resize
and resize your image to 450 x450 pixels, adjust/ sharpness/sharpen.
31. Save as a jpeg and name it.
Hope you enjoyed this
tut.
Thanks, Nan
PLEASE SEND LESSON TO YOUR INSTRUCTOR AND GROUP
Please do not copy, tear apart, email or share these lessons without my permission: Thank You for your understanding and respect for the hard work that goes into these lessons.

Graphics/Content © 2007 Cherie. All Rights Reserved.
|