Google Translate
|
Written and Copyright © Cherie. This is my own creation, any similarities to other tutorials is purely coincidental and unintentional.
I tried to make it easy with the pictures, that I used.
Drag the Arrow to mark your progress
Right click and save image to your computer, then open up the image up in your PSP.
click on the freehand tool. Shown here
Use the settings as below.
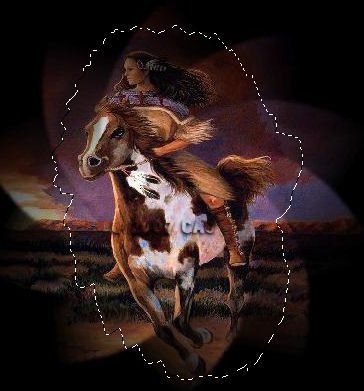
Start anywhere on your image and outline the portion that you want to "Pop out" . I like mine to be a little different so I didn't make my line straight, I made mine with some jagged edges so it would have a different effect on the finished tag. See my example.
Once you have the ants the way you want it right click on the image and then click "Copy".
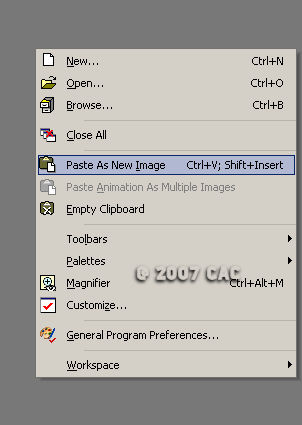
Now click on an open space on your PSP canvas and right click
again and click on "Paste as a new Image". You can now either close or minimize your original image. We won't need anymore unless you plan on using some of the other colors from it.
Open up a new image 500 x 500.
Your cut image should still be ready for you to paste so go to the new image right click in it and paste the image as a "New Layer". If you do not see were you can paste it then go back to the cut image and right click on it again and copy it, then follow the above steps. Once you have pasted it as a "New Layer" right click on the layer and rename it popup.
Now go to Effects/3d effects/Inner Bevel it at the same settings that I have:
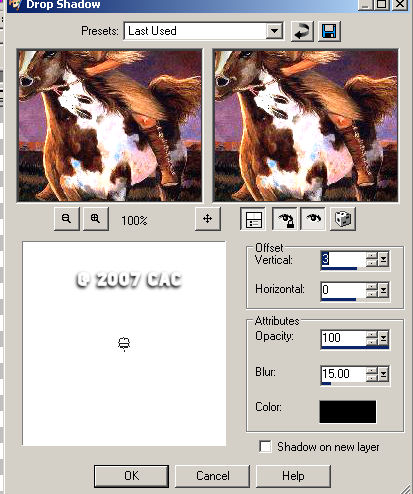
Next go back to Effects/3d effects/drop Shadow on the same settings that I have:
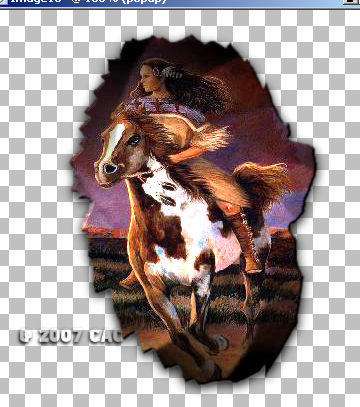
Your Image should now look something like this:
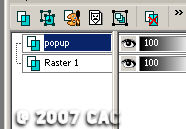
Let's Decorate it.... Remember, from above we added the image as a new layer and renamed that layer. You should have 2 layers, one called raster 1 and one called pop up. The raster layer can be used to start a background any other types of things like words or even other graphics can always be added by adding new layers. Just remember to rename those layers so you know what they are when you want to work with them. So far this is what my layers look like.
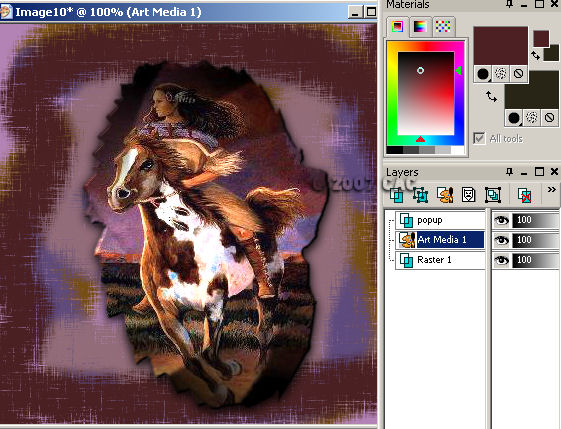
I'm going to add a background to mine. I used the Raster 1 layer to do that and renamed it bk. I added a purple to the background layer then I took some of my background from the original tube and chalked in a background. See my example:
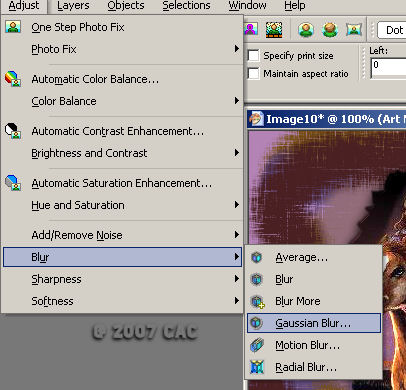
Note: When you use one of your art tools a Art Media will show up on your layers, once your finished with the tool and use something like a Gaussian blur to it, it will convert to a raster. I renamed that raster chalkbk.
I then went to adjust/blur/Gaussian blur and that mixed up all my colors.
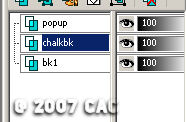
My Layers now look like this; notice how I rename them as I go:
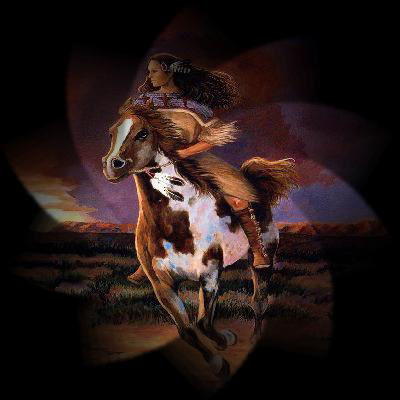
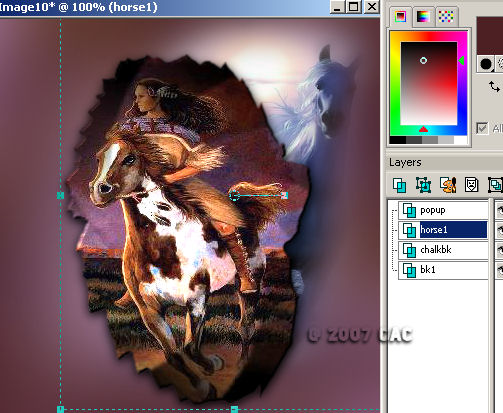
Okay my background looks great but I'm not done yet. This time I found another tube, a misted one that I want to add to this. I copied the tube like above and pasted it as a new layer and renamed it horse1 see my example:
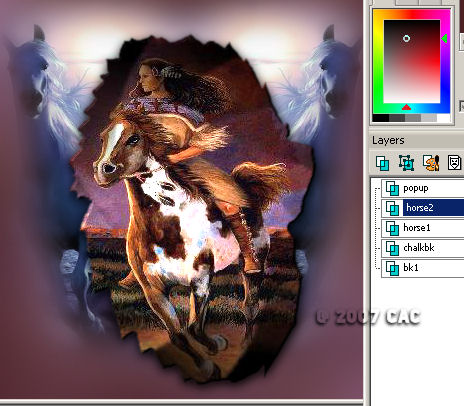
That looks cool but I think I want the same horse on the other side of the pop up image. I left the horse1 layer activated, right clicked on it and duplicated it. Then I went to image and click on mirror. Once I was done with that I renamed the duplicated layer as horse2.
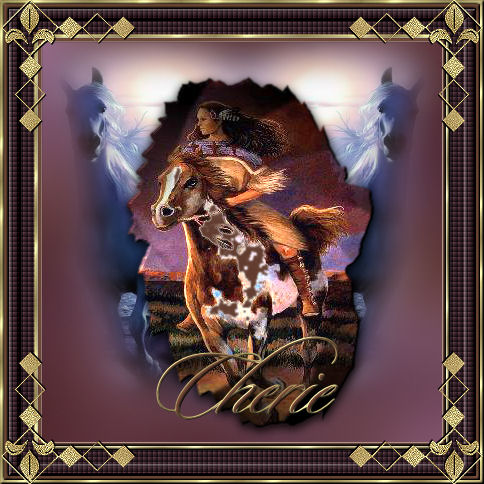
Oh that looks COOL! Okay I'm going to add my name. So I clicked on Text tool and added my name. Once you have done that merge it all visible and then finish it off by adding a pretty frame to it. That's it.... Happy Creating all!!! Send to your Instructor and the group; Please be sure to indicate the lesson name
Please do not copy, tear apart, email or share these lessons without my permission: Thank You for your understanding and respect for the hard work that goes into these lessons.
Graphics/Content © 2006-2021 Queen Krissy New-Bee's. |