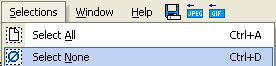
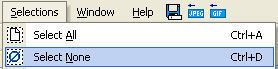
2. Selections/select all.

3. Open your supplies and find your sand
bk then copy and paste into selection.


4. Selections/none.
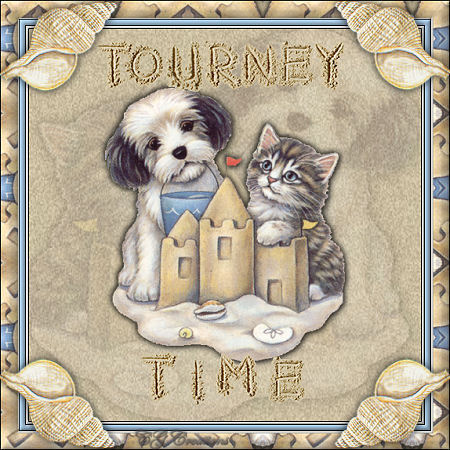
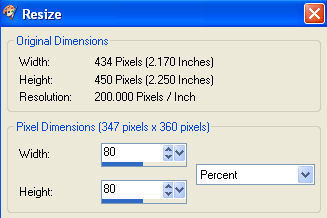
5. Open your sandcastle pals image I have
supplied. Duplicate it and minimize the original for
later. Resize this image by 80 percent.
6. Copy and paste your image as a new
layer. Selections/none.
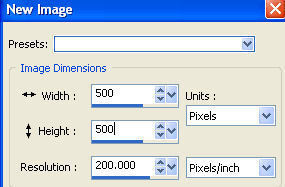
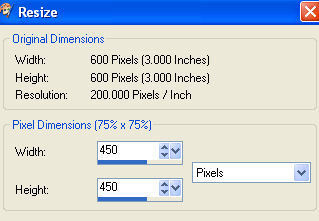
Note: We resized our image by 80
percent. You can sharpen it if u like but I know we are
going to resize later anyway cause our image is now 500x500 and
we will resize it down to 450x450 when we are done. I
prefer to sharpen my image only once as it can look like static
when you sharpen too many times.
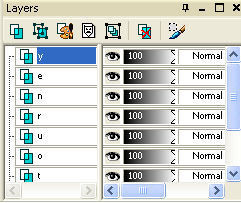
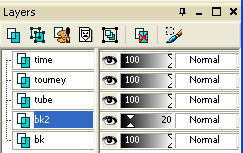
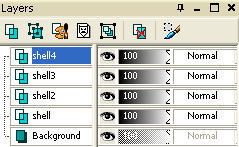
7. Lets
rename our layers. Mine looks like this.

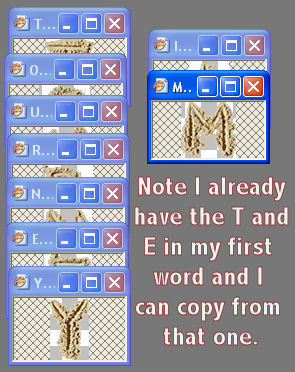
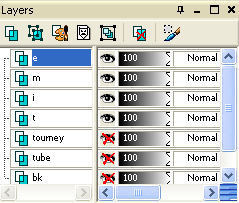
8. Now lets do our text with the sand.
I am choosing "Tourney Time" to write in my tag. Look in
your sand font and open all the letters you will be using for
your text. We are going to have a lot of layers for our
writing. Continue to open until you have all your letters.
You do not have to duplicate the ones you need to use twice.
This is what mine looks like.
9. One by one start copying and pasting
your letters in your tag. Rename your layers as you go by
the letter it represents; that way they are easy to move around
and you don't have to hunt for the letter you are looking for.
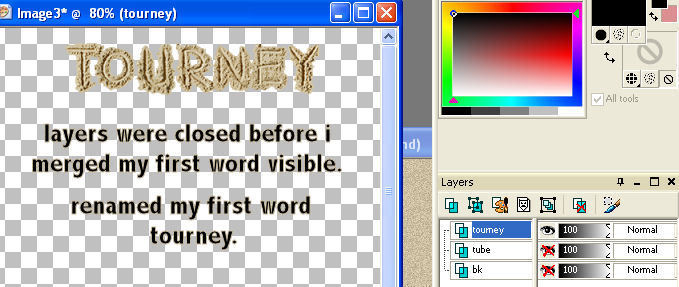
I did the "tourney" word first and put that at the top of my
page. Notice my layers.
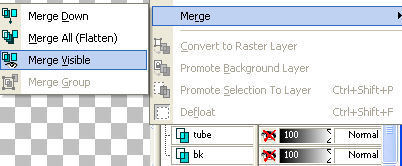
10. When I was happy with my word
placement, I closed off all layers except my letters and merged
visible. Rename this merged layer your first word; I renamed my
word "tourney".
11.
Now let's do our 2nd word or you may just choose to do only 1
word; that is up to you. I copied and pasted the letters I
needed for my 2nd word which is "time". I renamed the
layers by the letter they represent.
12. Notice I have my other layers closed off except the
letters I am working with now to make my 2nd word. When
you are satisfied with the placement of your 2nd word,
merge/merge visible. (see step 10)
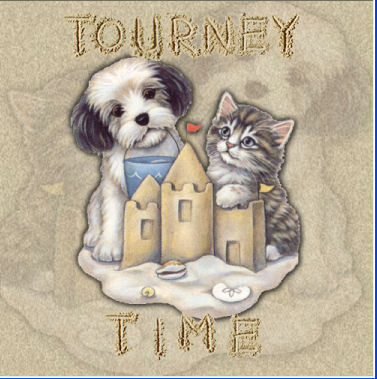
13.
Open all your layers up. Move any of your layers you need so it
has the appearance you want. Mine looks like this.
14. We are going to add another bk to go with the one we
already have like in my tag above. Activate your bk
(background) layer. Add a new raster layer and name it bk2. (By
activating bk and then adding a new raster layer, the layer
appears in your layer pallet right above your bk; that way both
the bk's are together.)

15. On your bk2 layer, selections/select all.
You will see marching ants again.

16. Open your sandcastle pals back up that you
minimized earlier and copy then paste into selection.


17.
Selections/none.
18. On bk2, image/mirror.

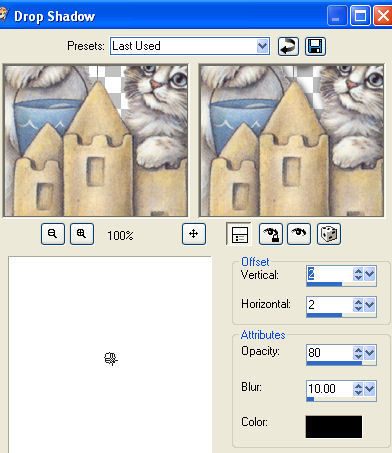
19. Use these settings and add a drop
shadow to both your bk2 layer and also the tube itself.
(sandcastle pals) Do this again and make your vertical and
horizontal -2.
20.
On bk2, reduce your opacity to 20.
21. Right click on any layer in your
layers pallet then merge/merge flatten.

22. Image/add border 1 symmetric black
#674363.
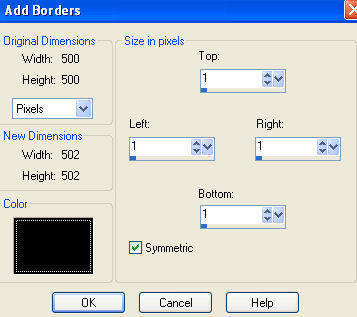
23.
Image/add border 3 symmetric and I chose a pale color; I used
#dcddd9 or use a light color of your choice.
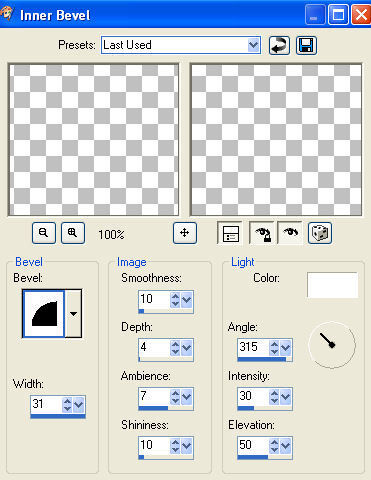
24.
Get your magic wand and click inside the pale border so u have
double marching ants and use this inner bevel. Afterwards,
selections/select none.
25. Image/add border 1 black.
26. Image/add
border 7 and I chose color #9ebcd5.
27. With your
magic wand, click inside your border and add the same inner
bevel in step 24 then selections/none.
28. Repeat
steps 22-25.
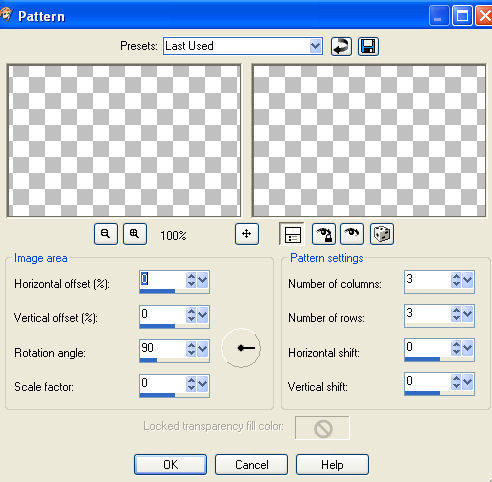
29. Image/add border 20 symmetric
white.
30. With your magic wand click inside your
white border to get double marching ants.
Effects/reflection/pattern and apply these settings.
31. While you still have marching
ants, add the same inner bevel in step 24 then selections/none.
32. Image/add border symmetric 1 black.
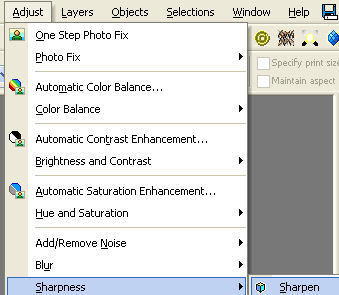
33.
Image/resize to 450x450 pixels. Adjust/sharpen.
34. Lets add corners. I
included shells in your supplies. Open the one you want to
use. You may have to resize the image depending how it looks on
your tag with your sand letters; that is up to you. (If
so, don't forget to sharpen it and do so before you paste as a
new layer.) Copy and paste as a new layer then add the
same drop shadow in step 19 using the 2 and -2.
35.
Position your shell in one of the corners like you want it.
Rename this layer shell. Duplicate it 3 times and rename
them shell2, shell3, shell4.
36. Activate shell2 layer; image/mirror.
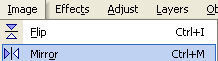
37. Activate shell3 layer; image/flip.
38. Activate shell4 layer; image/flip
then image/mirror.
39. Right click on any of your
layers and merge/flatten.
40. Add your watermark.
41. Export as a jpeg and send in your assignment.
Create another tag using your own supplies and you can change
any of the settings you wish.
Here is another tag I
created using the same font and made the effects a little
different.