|
DarriansFrames 
For those that have never installed a font here are
some basic instructions: Note these instructions are
based on an HP XP and may vary depending on your operating
system.
Go to your start on your computer  click on your click on your  . Then click on appearance
selection. . Then click on appearance
selection.  . .
Click on the fonts tab 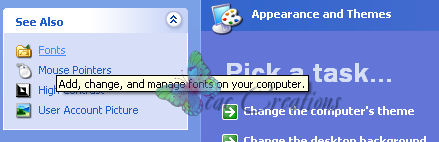
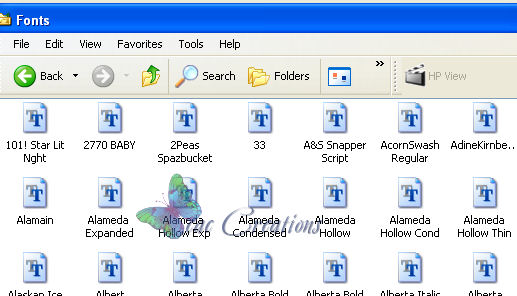
Your fonts folder will open and it looks like this:
Unzip the font from above open up the folder that you
unzipped it too. Click on the font's name so it is
highlighted and drag it into your Font folder above and your
done.
Now lets get started.
1. Open a new image 500 x 500 transparent.
2. Click on you  tool and find the Darrians
Frames Font and choose the letter that will represent the
frame you want to use. I used the lower case e at font
size 72. Follow my other settings for the font and
make sure vector is set. tool and find the Darrians
Frames Font and choose the letter that will represent the
frame you want to use. I used the lower case e at font
size 72. Follow my other settings for the font and
make sure vector is set.

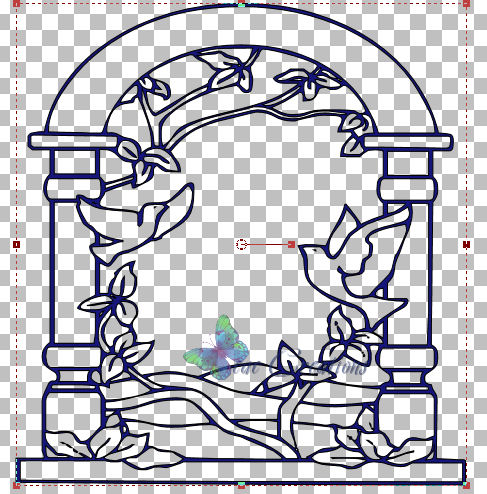
When you use it the size will be small and will look like
this:
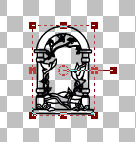
3. Notice the box around it, and the little tiny box that
also are around it. Those are called handles and are
used to change the appearance of the image.
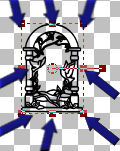
4. With your mouse click on one of the bottom handles
and hold down your left mouse button and pull the handle down
to make the frame larger. In the center of the image is
a small circle if you take your mouse and click on that circle
and hold your left mouse button down you can once again
reposition your image in the center. Grab a hold of it
and move it around so you see the results. Once you have
your image back in the center you can continue to grab the
lower handles to resize it to your desired size.
5. Were going to color inside of the frame so make it
large enough that when you use your magic wand in it that the
area you want to select is pretty much covered.
6. Now that you have your frame made go to your
layers and right click on the vector and convert it to a
raster.  Right click on the raster and
rename it frame. Right click on the raster and
rename it frame.
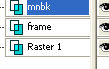
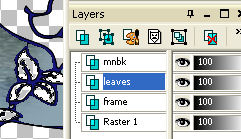
7. Duplicate your Frame and right click on the copy
of it and rename it mnbk. This will be the process
through the entire tag. For each section that you select
your must duplicate the original frame so you can change just
that section that you need to change.
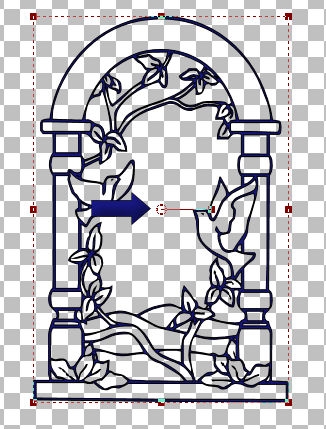
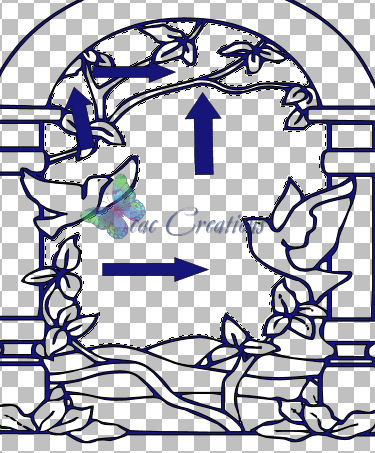
8. Depending on your frame that you choose will
depend on how much you will need to use your magic wand  . My frame has lots of small
areas so in order for me to get all of the center so it looks
right I had to do a lot of selecting. To choose multiple
selected spots at one time hold down your shift key as your
using your magic wand and you will see that your choices will
stay like so: . My frame has lots of small
areas so in order for me to get all of the center so it looks
right I had to do a lot of selecting. To choose multiple
selected spots at one time hold down your shift key as your
using your magic wand and you will see that your choices will
stay like so:
Note: Make sure your duplicated frame layer
is activated when making your selections with your magic wand.
That layer is called mnbk.
9. Go to selections/modify/expand by 1. With
your center of your frame selected choose a color from the
tube that you would like to place in the center of the
frame. Flood fill each selected spot with the color.

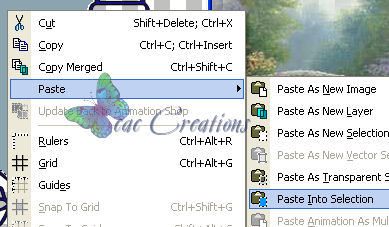
10. Now with your center still selected (with
the marching ants) go to your tube and right click on it and
copy it. Then go back to your duplicated frame and right
click on the center of it and "paste into
Section".
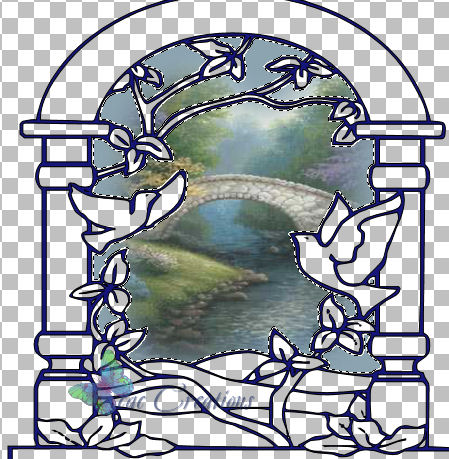
11. Mine now looks like this:
12. Go to selections and select none.
13. Okay you should now have the basic idea of
placing backgrounds and even images into your frame.
Were going to move on and add color to our frame and stain
glass it.
14. Go back to step 7 and duplicate the original
frame. Remember to do this every time you go to color a
new selection. Rename each duplicated section so you know what
your working on. For demonstration I will cooler the
leaves of my frame. Note: Make sure that each new
duplicated frame is activated each time you add a new
color. Remember to go to selections/modify expand by 1
for each new color
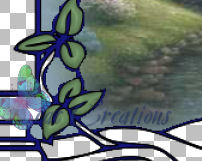
My leaves now look like this.
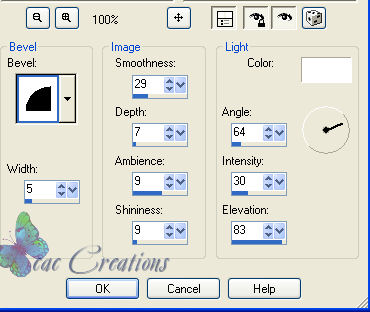
14. Now that you have your new area colored go to
effect/3d effects/inner bevel and using my settings below give
you new colored selected area a brand new look. Follow
my bevel settings.
15. My leaves look like this now:
16. Finish up through the rest of your frame, remember
to duplicate the original frame for each new color that you
use, so that when you inner bevel the only thing effected will
be the "New Color portion" that you just added. Remember
for every new duplicated frame to rename it so you know what
portion of the frame your working on.
Add your name if you like, merge it all visible and export
it as a gif
| 
